COMING TO ICELAND WITH YOUR OWN BIKE: OUR CHECKLIST
Icebike Adventures owns a fleet of state-of-the-art E-MTB, mountain bikes and gravel bikes. All them are bike models of the current year. Furthermore, we have a full time mechanic maintaining them on a day-to-day basis. Which means our rental bikes will “do the job” on any of our adventures.
Even though we can offer you a good bike option for your upcoming Iceland trip, chances are high that your personal bike will travel with you. Your personal choice of components and fine tuning make it perfect for you, we understand!
Fair enough, so we decided to help you and write an article about the best ways to make this bike “Iceland ready”. In a nutshell: prepare it, pack it well and bring the right spare parts.
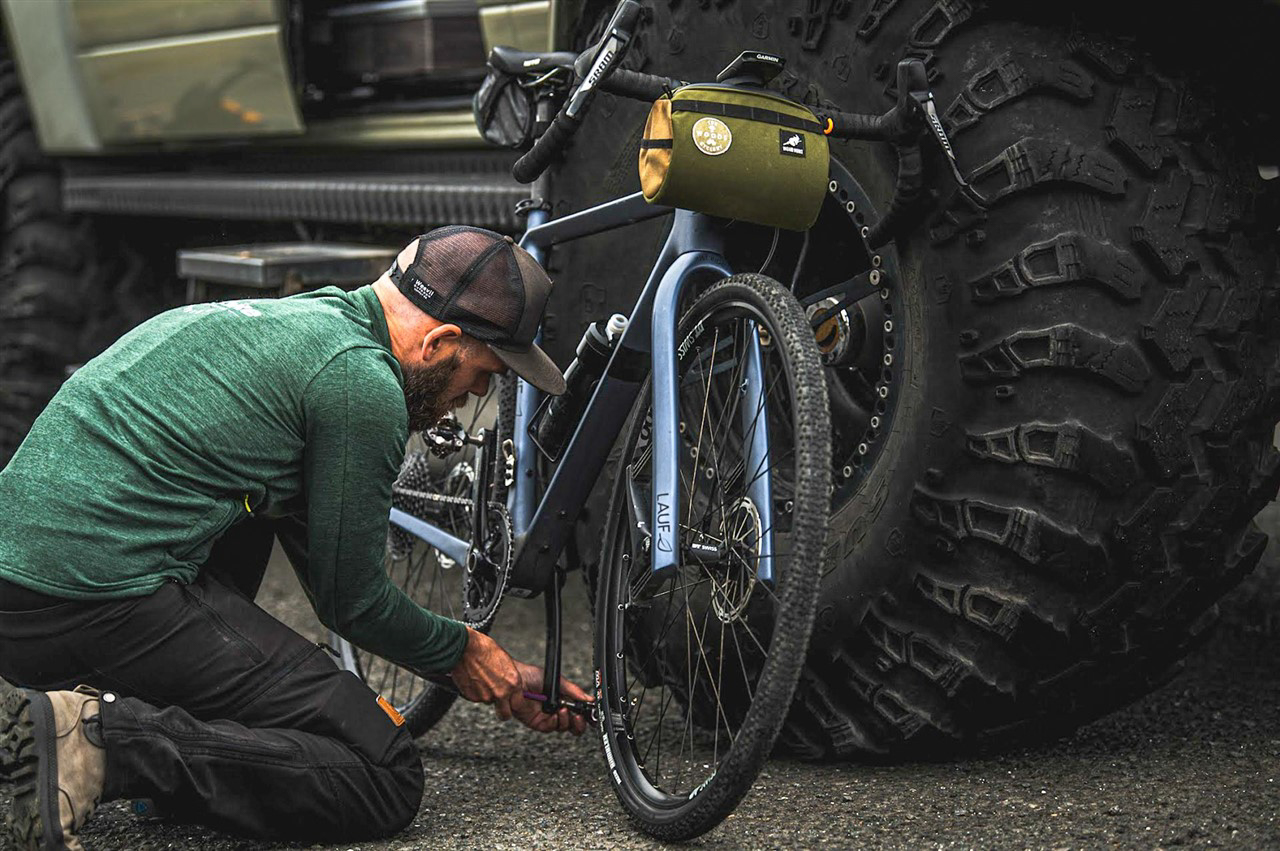
Preparing your bike: better safe than sorry
Iceland is hard on the bikes and the pace of our trips is challenging. Not to miss out on the epic expedition, be sure to come with a bike in perfect working condition. Our experience shows that a bike in “OK condition” does not last long in the land of fire and ice. Bad maintenance can harm the fun of your trip and the experience of the rest of the group too.
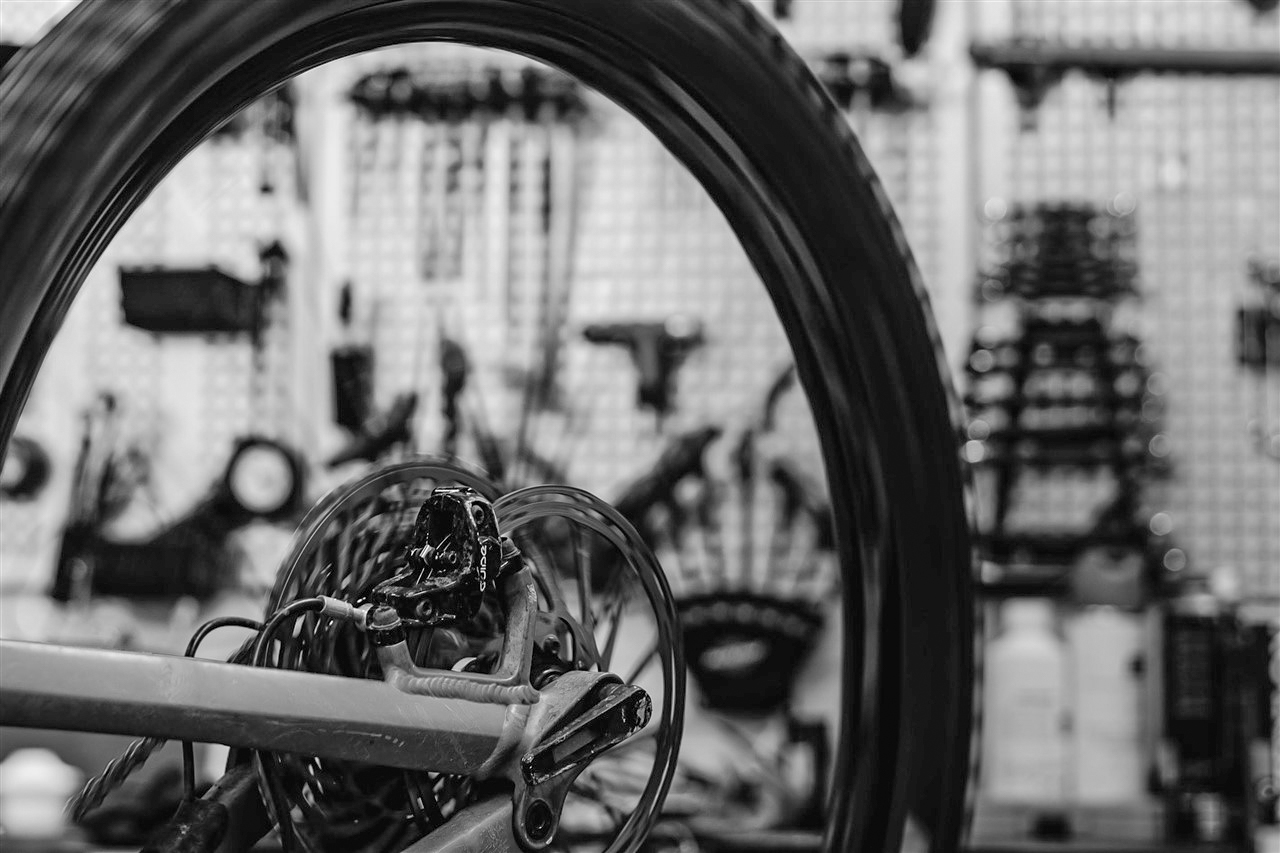
Having it checked at your local bike shop before the trip is a great idea. Our seasoned mechanic suggests that you pay particular attention to the following items:
- Get new brake pads and a fresh brakes bleed
- Have your gears fine-tuned and change your derailleur cable
- Have a dropper post in perfect working order. Have it serviced if needed. As a standard check the pressure in it and make sure it functions as should. To achieve that, you can bleed the system if it is hydraulic. If it is cable-actuated, change the cable and adjust its tension.
- Get your wheels trued & spokes tension checked
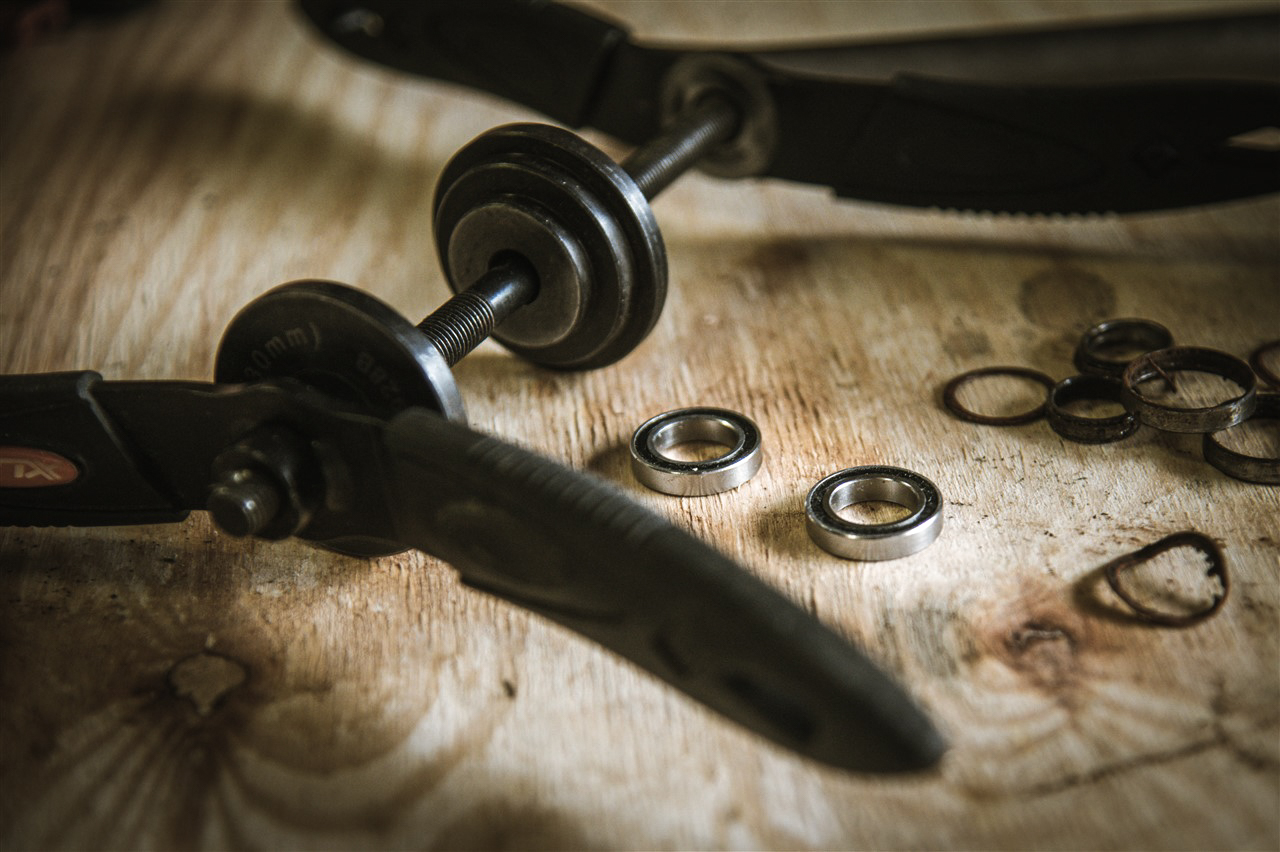
- Check the bearings of your bike (headset, bottom-bracket, wheels & frame bearings). Replace them if they are not in perfect working order: volcanic ash and wet terrain will finish them here.
- Install tubeless tires or topping them up with fresh sealant liquid
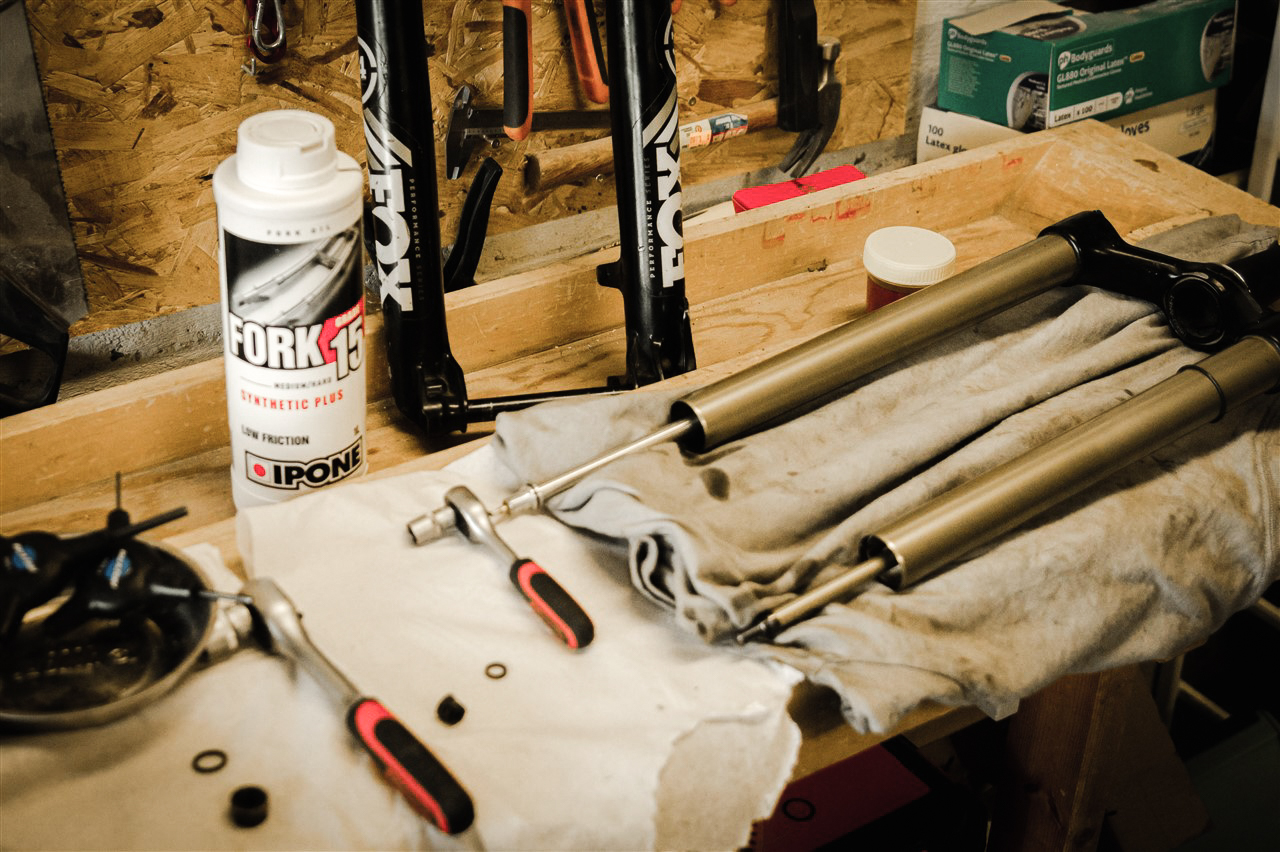
For the most advanced riders, it is a good idea to have your suspensions serviced shortly before the trip. Fresh oil and new seals will revive your suspensions and make them feel like new. What’s better than a plushy ride in one of the best areas the world has to offer?
We recommend sturdy enduro tires with reinforced sidewalls rather than light tires. Lighter tires will not resist sharp volcanic rocks. They are likely to suffer punctures, “snake bites” or sidewalls damages.
Packing your bike properly: your last challenge before Iceland.
Your bike is now in perfect working order. Let us discuss how to keep it that way when traveling and flying with your bike. The two golden rules of packing are: don’t forget anything and protect all the most fragile parts of your build.
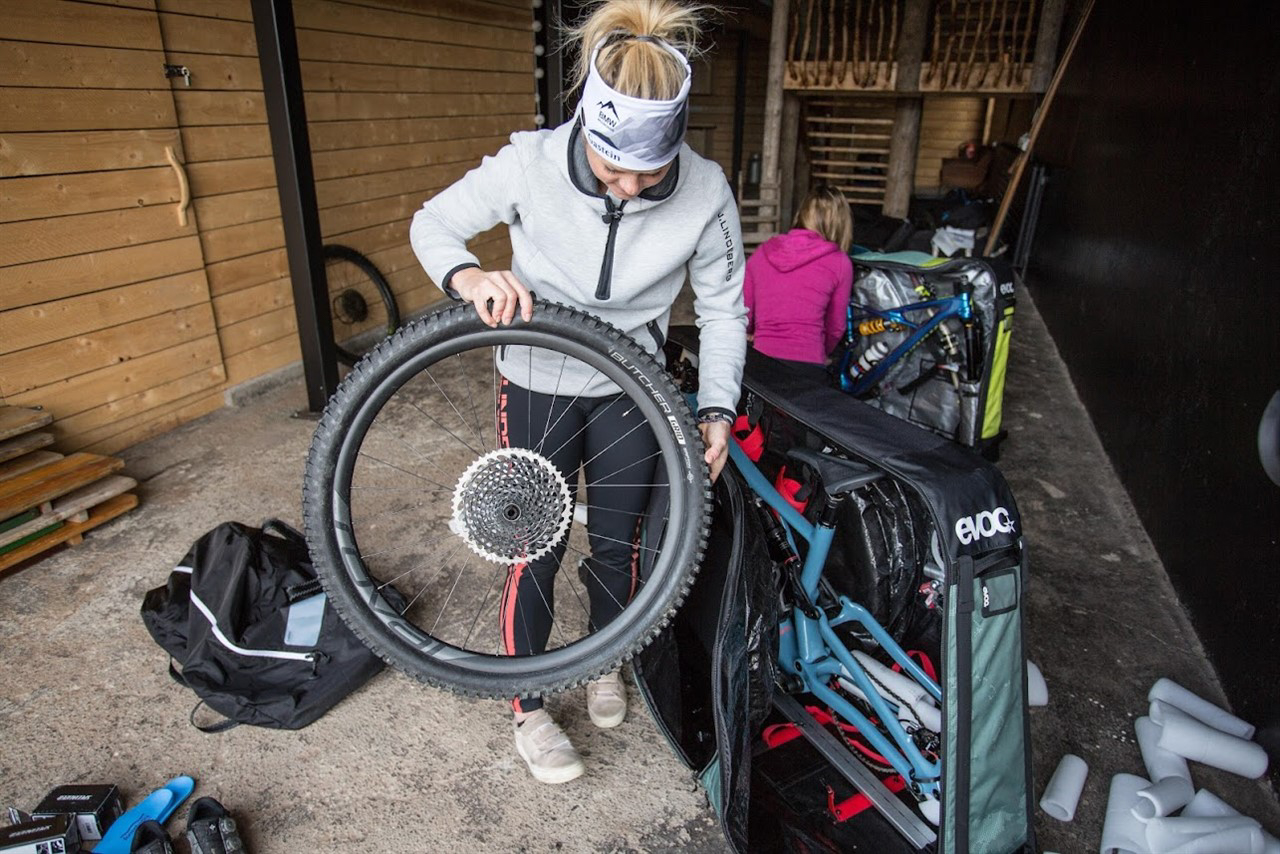
Protect the derailleur and the hanger as those two parts are both critical to a good shifting and easy to bend. With most of the bags on the market, you have to remove the rear wheel of your bike. This will result in exposing your transmission. We recommend disassembling the derailleur from the hanger, and/or the hanger from the frame. You can fix the derailleur to the frame and protect it. Taping the derailleur to the frame with a cardboard box between the elements should do the trick. Another solution is to disassemble it and store it in a sturdy compartment of your bag. The downside is that you need to readjust the cable tension afterwards.
When packing the wheels, make sure to protect the brake rotors. Nothing should appliy pressure on them. The best practice is to disassemble the rotors. Store them in a specific compartment or tape them inside some protective cardboard. A good thing to add to your checklist is to verify that your hubcaps are not missing: some of them are loose.
With some bags, you must disassemble the handlebar, the brake levers or the seat post. Any of these operations expose the cables and hoses of your bike. Pack carefully and pay attention to check the cable and brake hoses routing. Do not overbend them. If you have to disassemble your handlebar, it is best to leave the stem on the fork. This way you do not disassemble the headset and risk losing parts like spacers, top caps and bearings.
If removing the chain, be sure not to lose the missing link. A simple way to do so is to close the chain again before storing it in a safe place. Putting it in a cloth or a Ziplock bag is always a good practice to keep your bike bag clean. This option is always neater than trying to tidy the chain by fixing it to the frame.
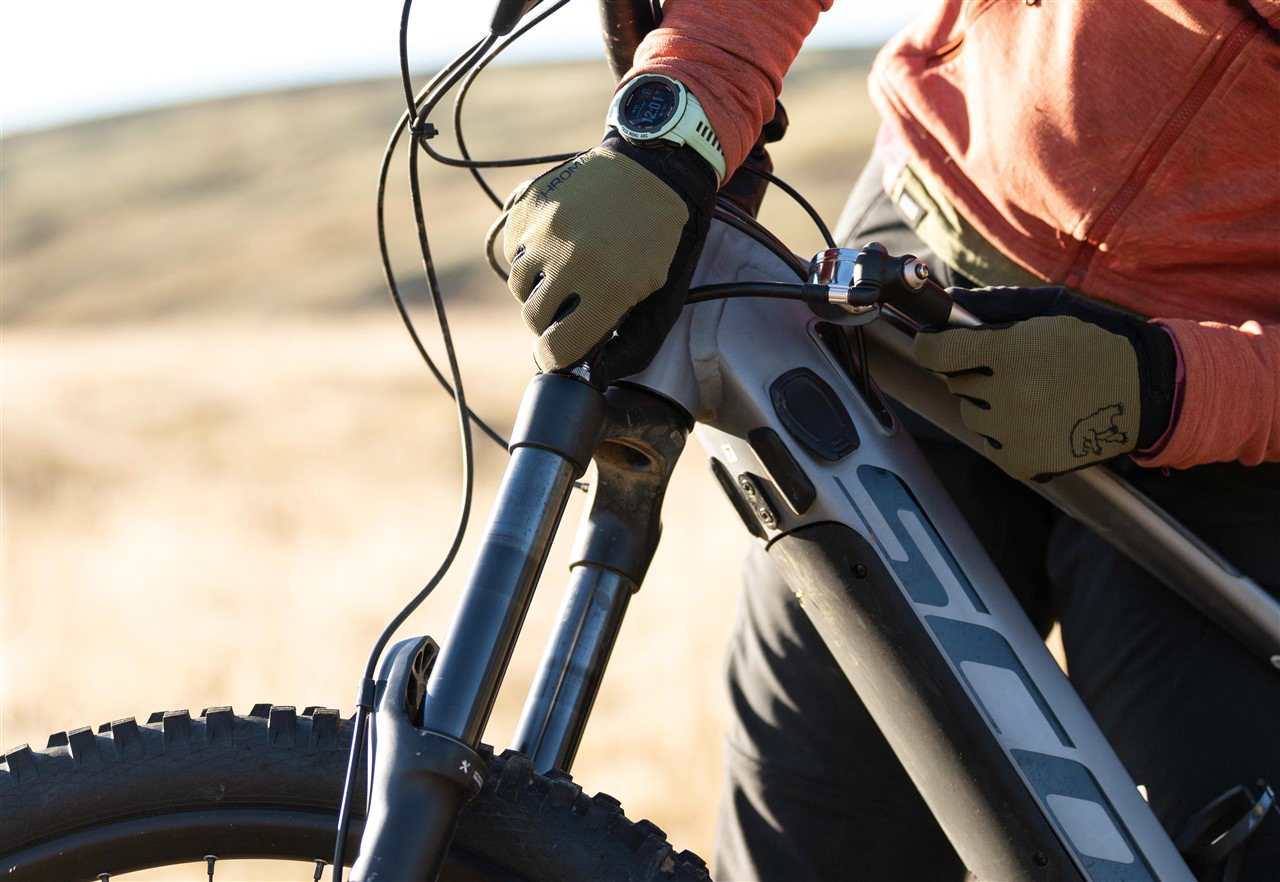
Before flying, deflate your suspensions and dropper post. Airlines also ask that you deflate your tires: it is airlines requirements. We encourage you to create one note in which you keep track of your preferred fork and shock air pressures. This will allow to tune your bike back to the perfect SAG quickly.
Special advice about the tubeless tires: it is best if you manage to deflate them but keep them hooked to your rims. This will make inflating them back easier and avoid tubeless sealant to stain your bike bag. No worries, we have a compressor, floor pumps and high-pressure pumps to make your life easier.
Last check: make sure that you have your fork and frame axle with you!
Tools and spare parts: what to bring?
We do not like to think about the worst-case scenario. Nonetheless, you have to consider them when packing for a mountain bike adventure. You aim for being ready to deal with a puncture, a contaminated brake pad or a faulty brake bleed. Bad situations also include a broken derailleur hanger or a few broken spokes. Either on the side of the track or at least after a day of riding, at the hotel.
Based on these unusual but still common bicycle breakdowns, we made a list of spare parts we identify as key. Some of them can be in your backpack, and the rest in the support vehicle. There are two main categories: bike model specific spare parts and specific tools.
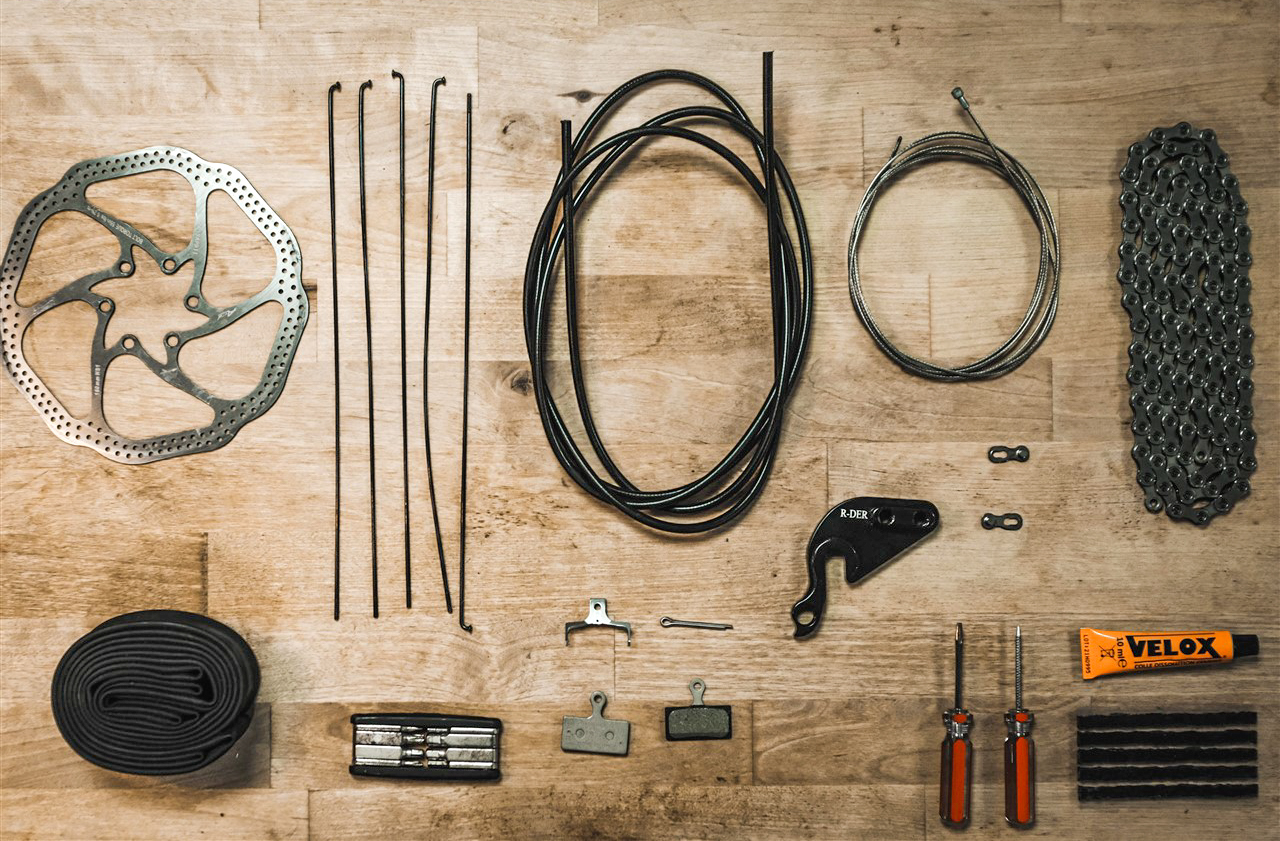
Here is a conservative list of the spare parts you should consider:
- A derailleur hanger specific to your bike
- Two sets of brake pads compatible with your brakes
- A handful of spare spokes and nipples to the right specs of your wheels. Indeed, they can be wheelset specific. Please note that the length of the spokes varies between the front and the rear wheel. It even varies between the sides of the same wheel because hub flasks are asymmetrical. Your local bike shop can help you identify and label the spokes and nipples you need. They will know if they are brand specific and which type and length you need. For example, you can label a specific spoke “Front wheel – right hand side -268mm”. This will make the field maintenance easy and quick.
- Four spare tubes are a good practice. The idea is to havetwo 2 if you tear apart your two tubeless tires the same riding day. Then the two others are spares for that particular day of riding tubes.
- A spare chain compatible with your transmission system with a few missing links.
- A spare derailleur cable and hose. Do not forget the small parts you might need to replace them.
- If you ride clipless pedals, it is good to bring a spare set of cleats. The hike-a-bike sections you will have to overcome can damage them.
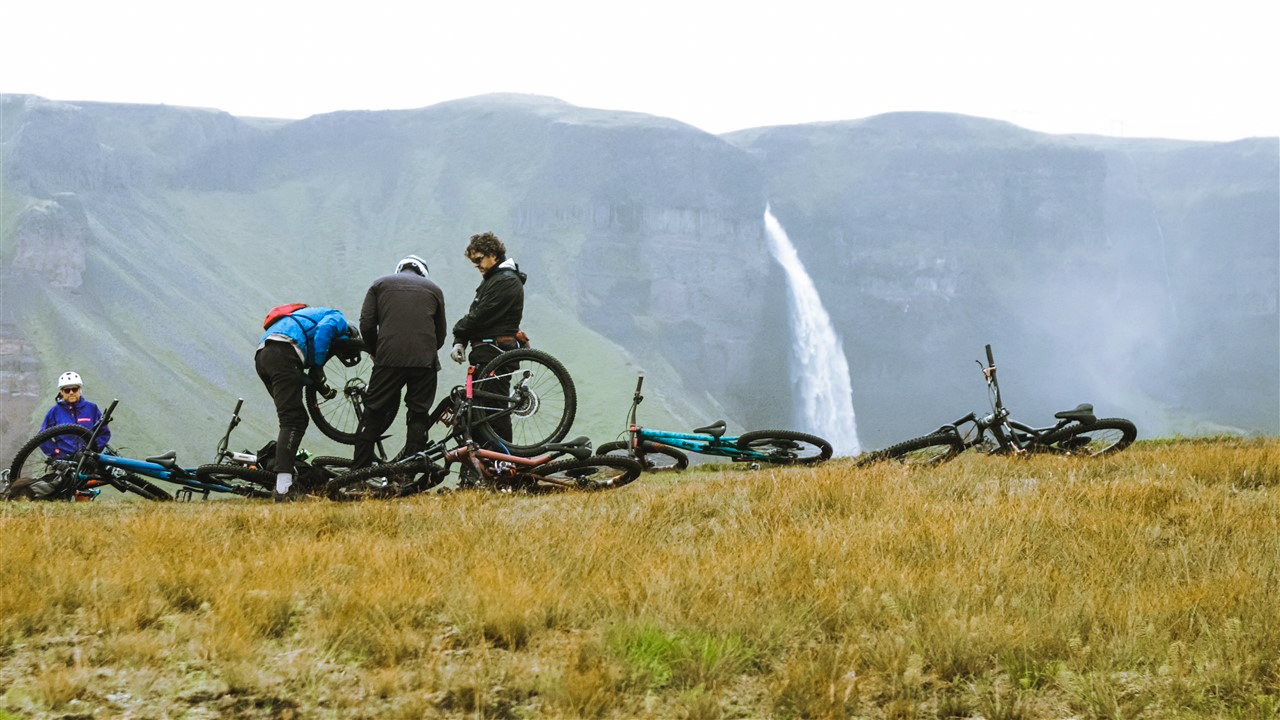
Below is a list of tools you should bring with you. Please note that the writer of this list is our nerdy bike mechanic! This package might seem overkill, but it comes from an experienced bikepacker. He even claims to have never got stuck in the field with a broken bike ????
- Multi-tool and a handpump we recommend to always have accessible.
- High-pressure pump to let you adjust the SAG of your bike on the go. It is practical to keep it in your backpack if you like to pump your suspension for the long days of pedaling.
- Set of tubeless tire plugs and plugs installation tools.
- Brake bleeding kit compatible with your brakes model. Do not forget to have a recipient with a sufficient amount of the specific liquid they need (DOT or Mineral). For hydraulic actuated seat posts owners, a dropper command bleeding kit can be smart too.
- If you have some fashionable and highly-specific wheels (eg. Mavic, Crankbrothers or Berd…), bring the specific spoke nipples tool for them. Some of them also come with specific wrenches to adjust the play in the hubs, and it is also a good idea to pack them along.
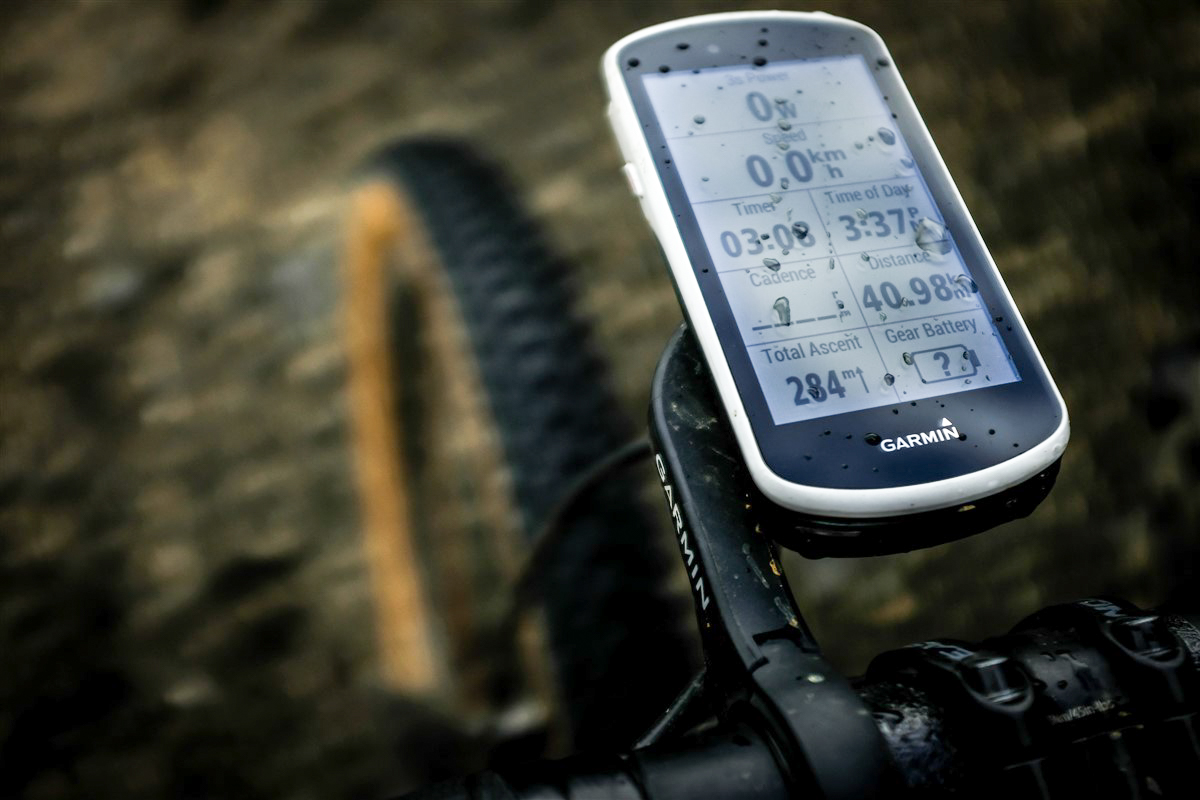
- Finally, if you use a GPS, a camera or a specific pouch or bag don’t forget to bring them along. Pay attention not to forget any small parts like mounts, adapters, screws and seals
To lower the pressure on your shoulders, know that we have got your back. We carry toolboxes and a selection of the most common spare parts in our support vehicles. Carrying the items of the precedent lists will help your guides to save the day in case of a mechanical problem.

